There is something about the Versys-X’s temperature gauge that will make you freak out. Kawasaki calibrated the gauge in such a way that it often displays 5 out of 6 bars (presumably when the water temperature reaches 100-105℃). At this point, the ECU will activate the radiator the fan.
I have a knack for straying from the well-trodden path, and let me tell you, it’s no joyride for the Versys-X. Pretending to be an adventure champ when it’s really a road bike in adventure guise, this is where she suffers the most. Move at a snail’s pace in scorching heat, and bam! The overheating warning light comes on, making the dash look like a Christmas tree…
… Enter The Fan Switch
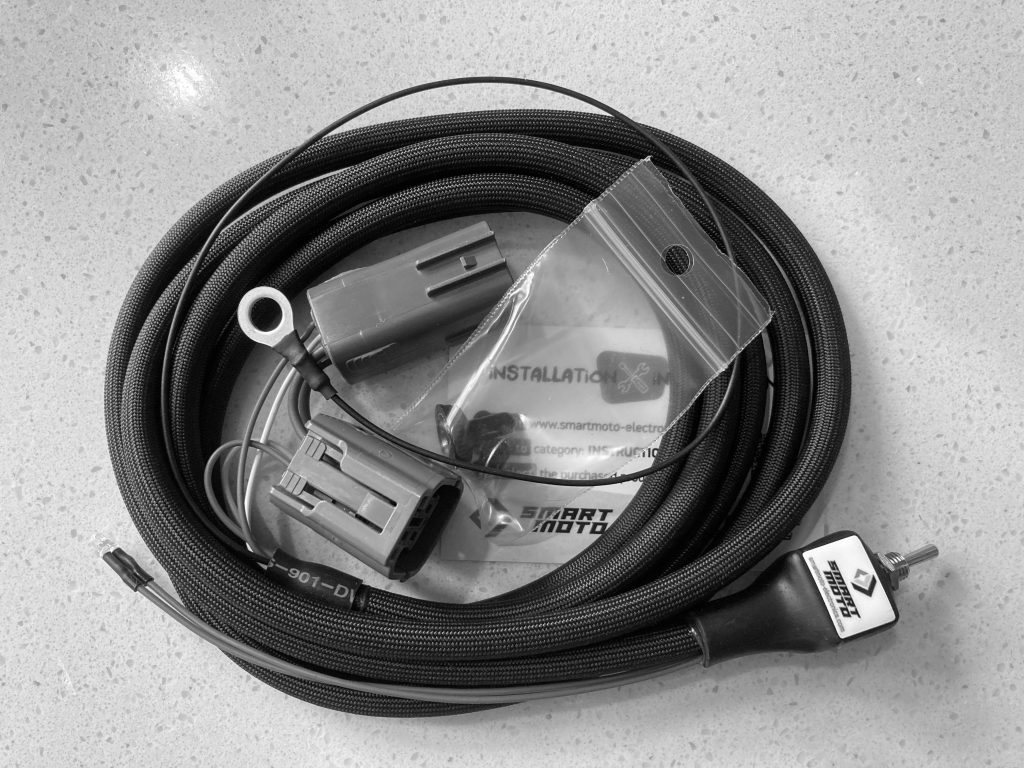
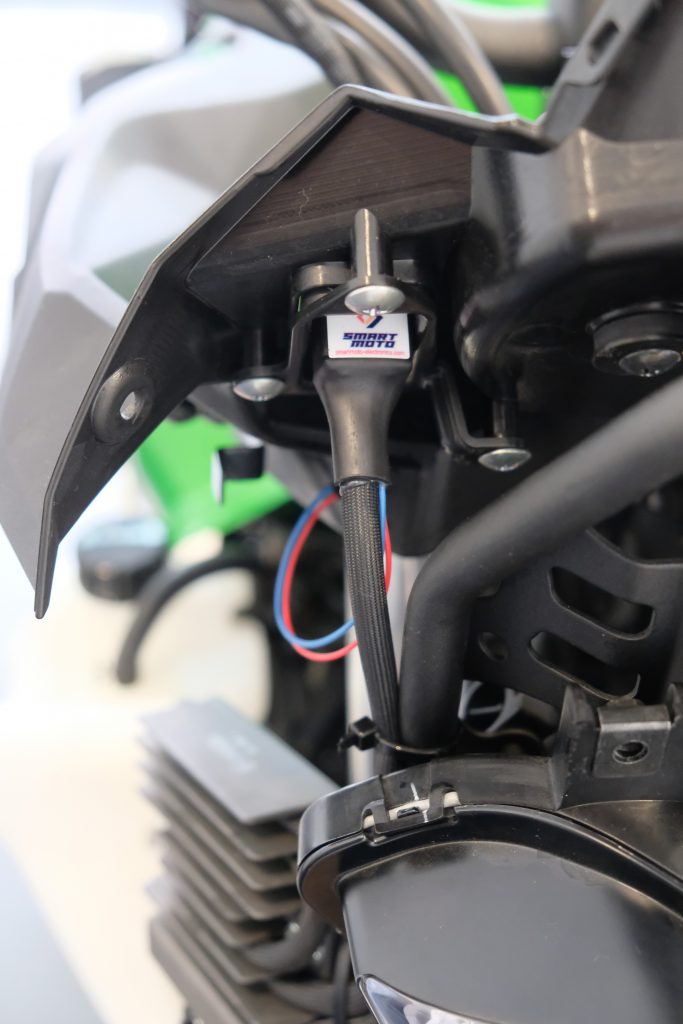
I stumbled upon the SmartMoto CoolAIR Radiator Fan Switch (that’s a mouthful…). SmartMoto makes this switch for several Kawasaki, Honda and Suzuki models (see HERE). For the Versys-X 300 and the Versys 650, you’ll need part number RFS-004. The wiring harness plugs into the relay assembly. This assembly is located underneath the seat on the 300 (more on this below) and under the gastank on the 650.
The switch allows you to manually switch on and off the radiator fan, without impairing its automatic operation. The kit is well finished and uses quality components, such a metal flip-up switch with a waterproof cover, OE connectors, etc.
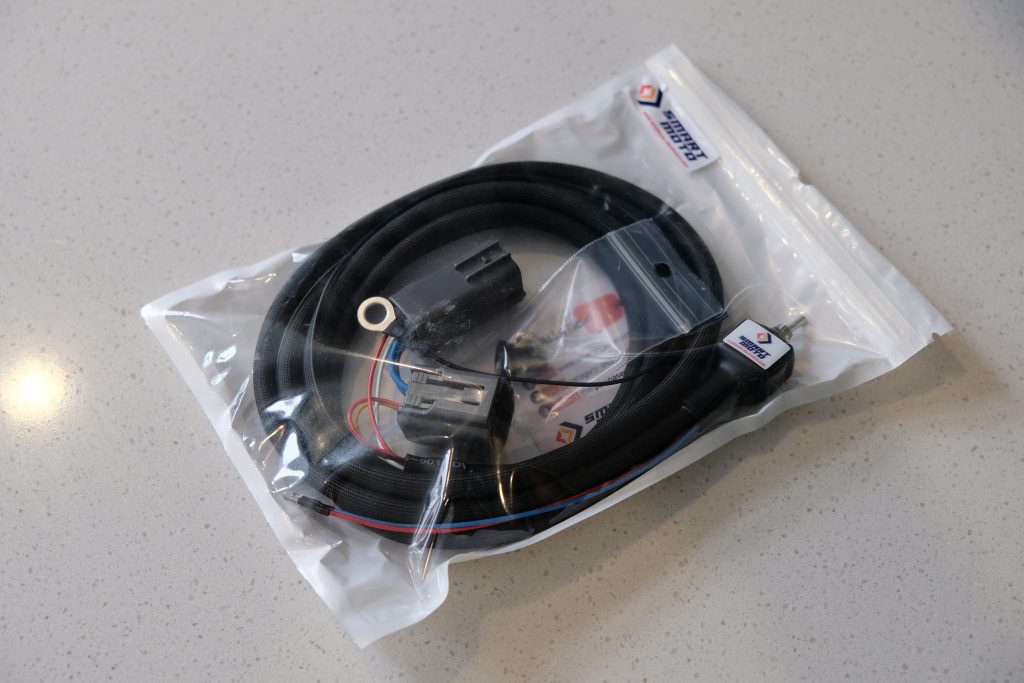
The packaging is plain and simple, as you can see below. Printed installation instructions are not provided, but they can be found online (Kawasaki-specific instructions are available HERE).
Installing the Fan Switch
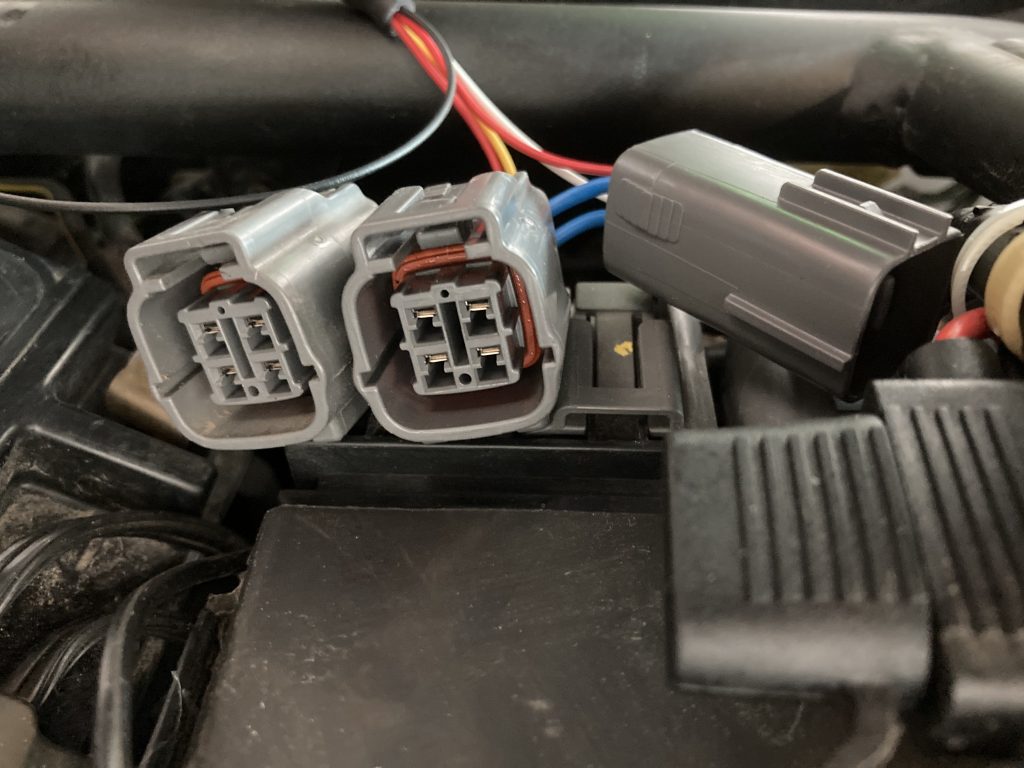
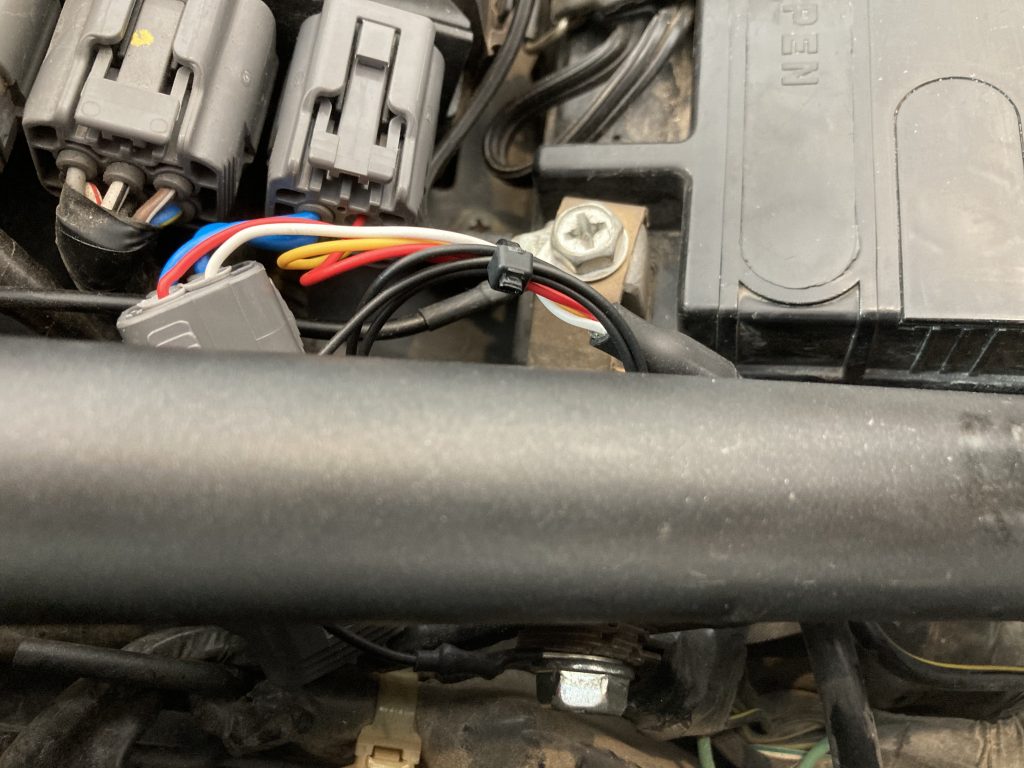
As far as the connection goes, it’s plug and play. The kit uses a passthrough with OE plugs and one ground wire. The connectors are Kawasaki OE parts, so they fit snugly into the ECU. The ground wire can be connected on the right-hand side of the rear subframe, near the battery.
Click on the pictures for full size.

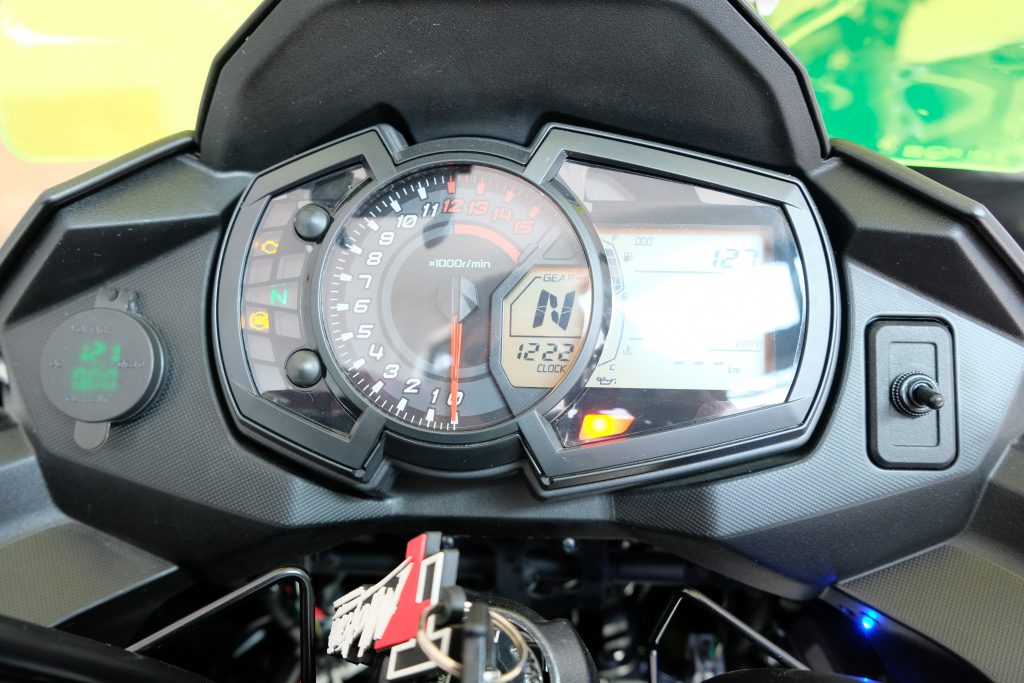
Installing the switch and the LED however will require some drilling. IIRC, you need to drill a 6mm hole for the switch and a 5mm hole for the LED. To fit the switch, I drilled into the right blanking plate on the dash. The blanking plate is a cheap part if you’d ever want to revert to stock. The part number from Kawasaki is 14093-0565 (US$ 2.95). It’s the same part number for the Versys-X 300 and the Versys 650.
Caveat: the LED is ultra bright. If you install it somewhere in your line of sight, it WILL blind you at night.
Trust me on this. I made this mistake on my old Versys-X. So the second time around, I did it slightly different. I located the LED underneath it, at the lower edge of the dashboard where it cannot possibly blind me.
Click on the pictures for full size.
Conclusion
This is very nice bit of kit. I think it is priced reasonably, given the build quality. Of course, you could DIY it for a fraction of the cost. But this kit gives me peace of mind, as I prefer not to hack into the stock wiring harness.